Custom Designs
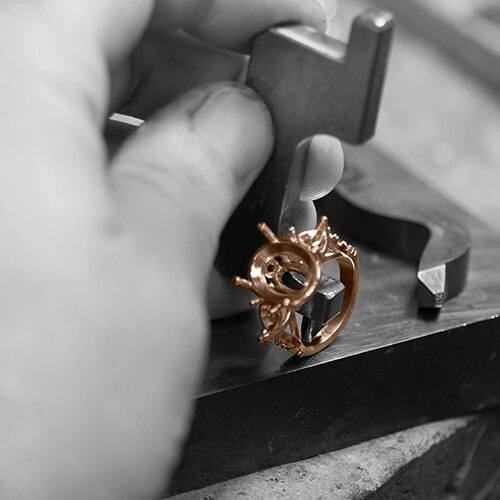
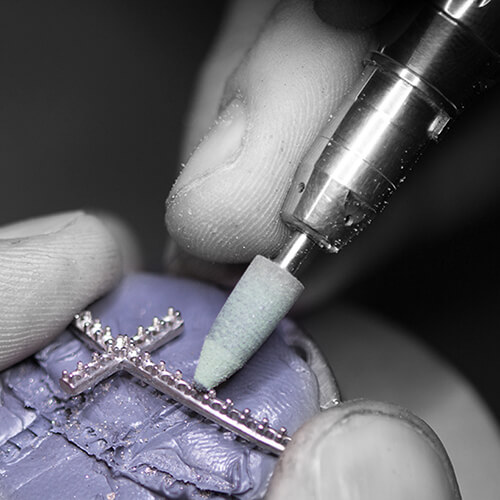
At Raybar, we’re passionate about crafting beautiful fine jewelry that both complements and reflects the personality traits of each client. Whether you’re designing jewelry for yourself or wish to surprise your beloved with something special, we have the expertise and willingness to create completely personalized designs – from start to finish.
Our Custom Design Process
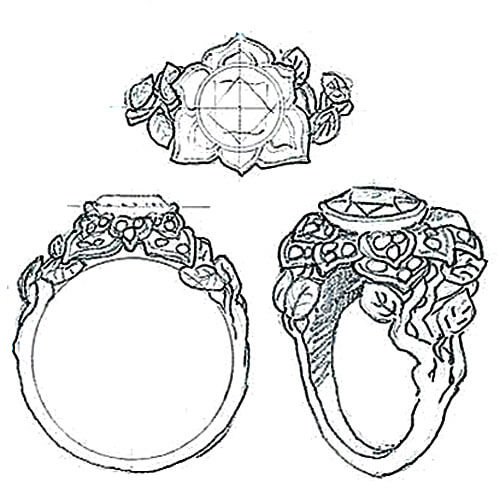
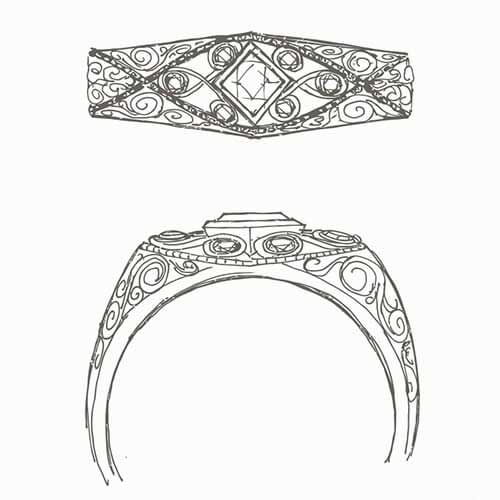
After the initial consultation and depending on design complexity, we’ll usually provide a complimentary “design mock-up” via email that will show you our interpretation of what we’ve gathered from the initial consultation.
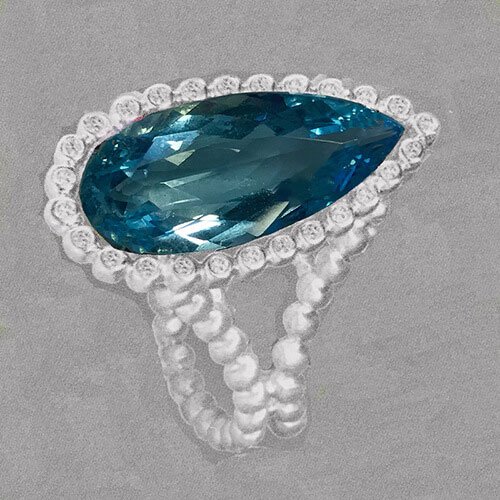
The mock-up might be a quick sketch or a “Photoshopped” amalgamation of the design discussed. Along with the mock-up, we’ll also provide an estimated price to complete the jewelry design. If the estimate sounds reasonable to you, we’ll need to secure a design deposit to proceed. Ranging from $200 – $400, the design deposit will allow us to begin either a CAD or artistic hand-drawn rendering. The deposit will be applied toward the final price of the jewelry design.
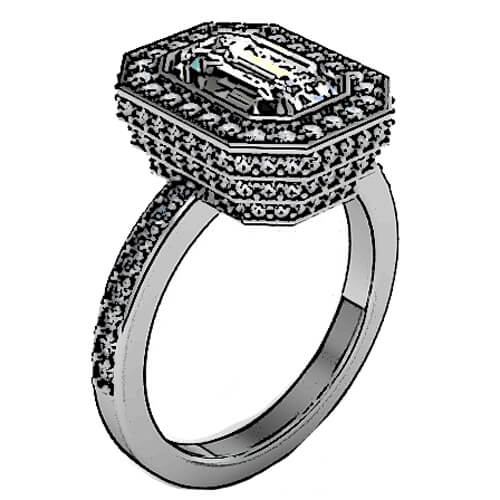
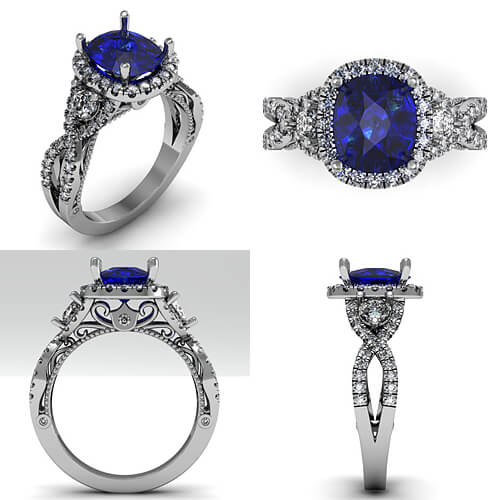
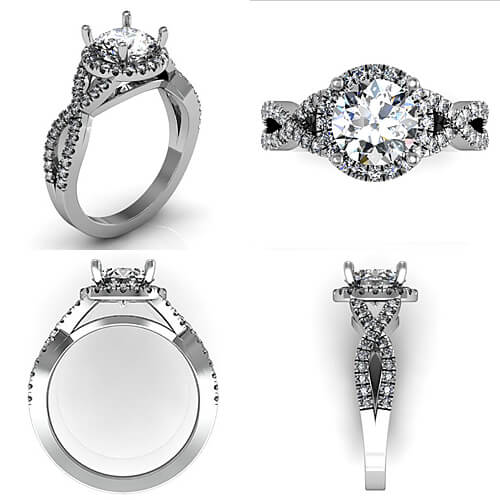
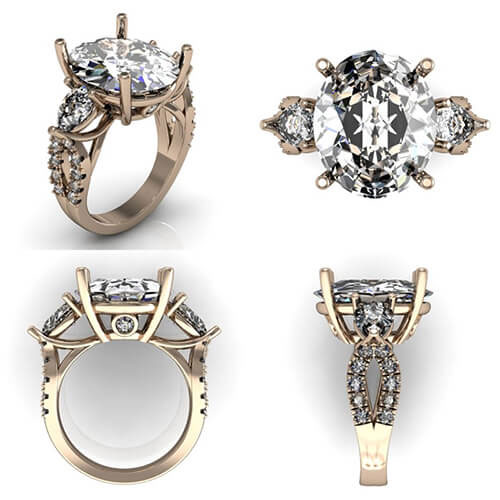
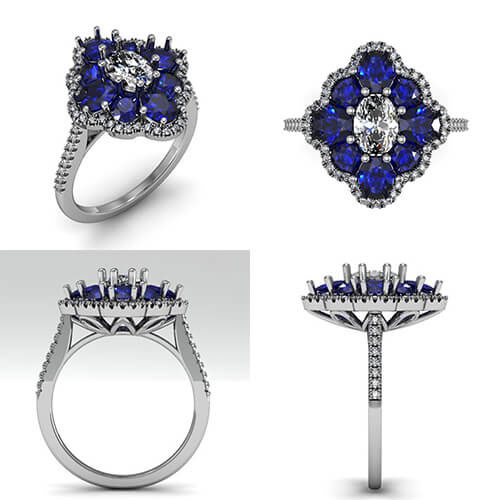
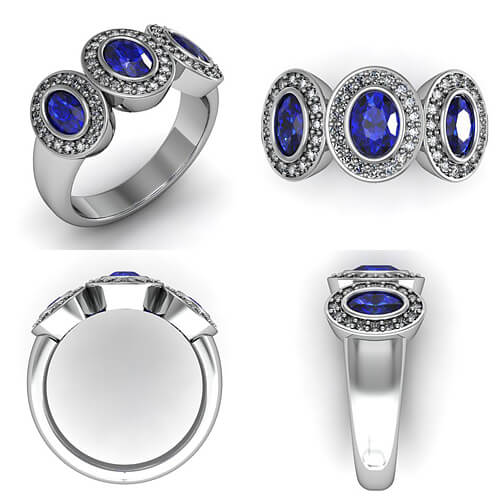
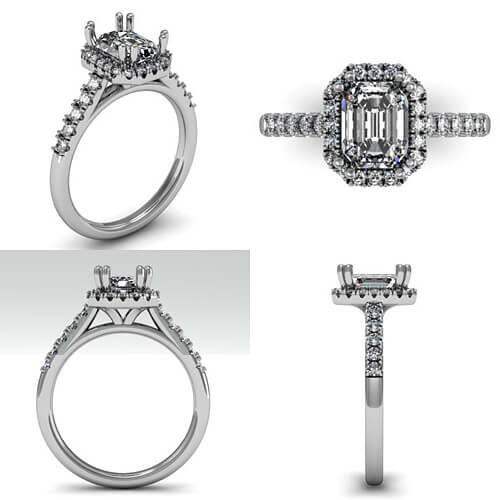
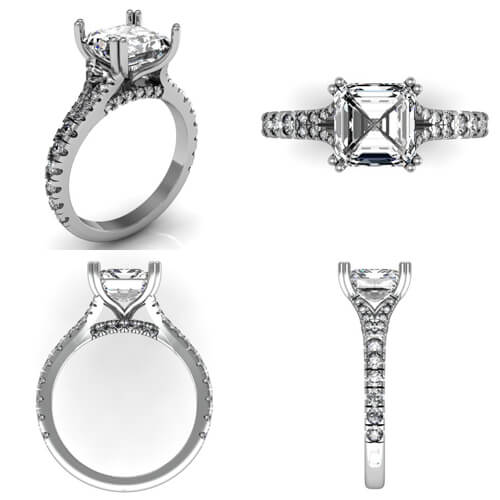
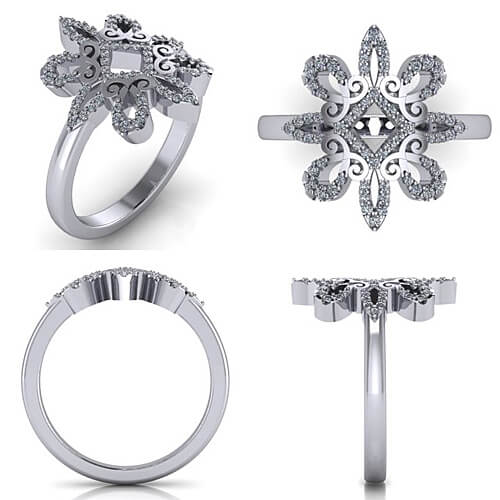
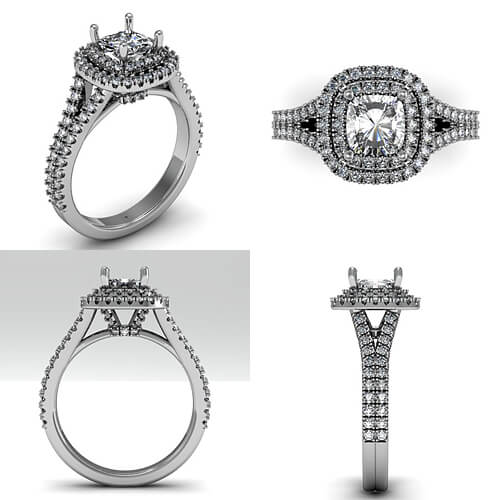
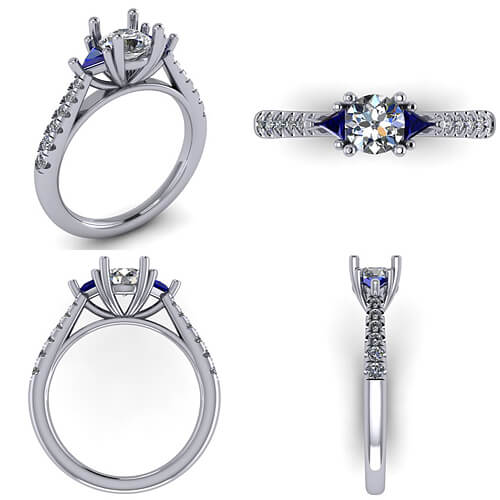
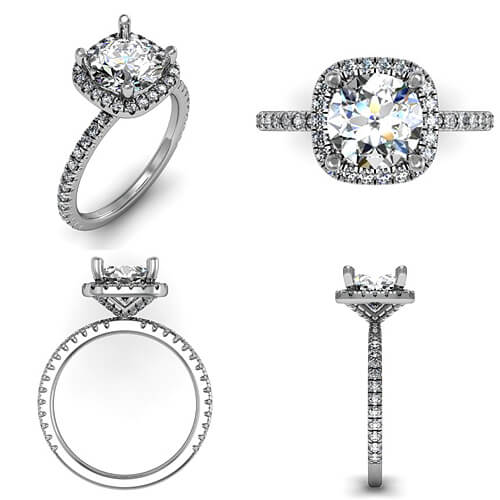
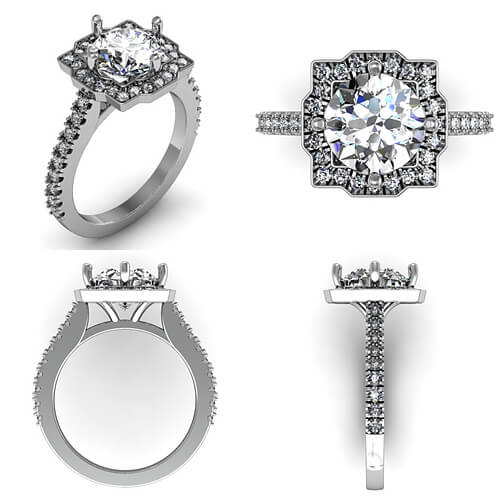
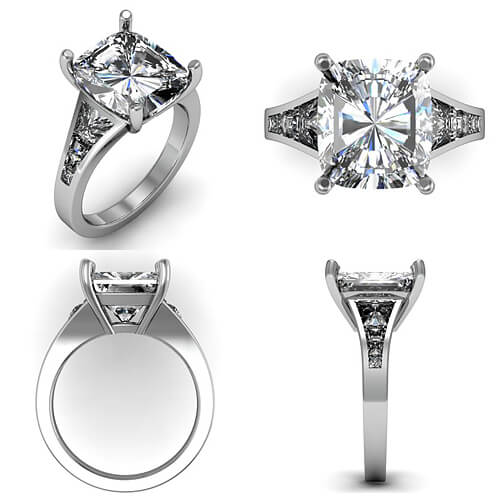
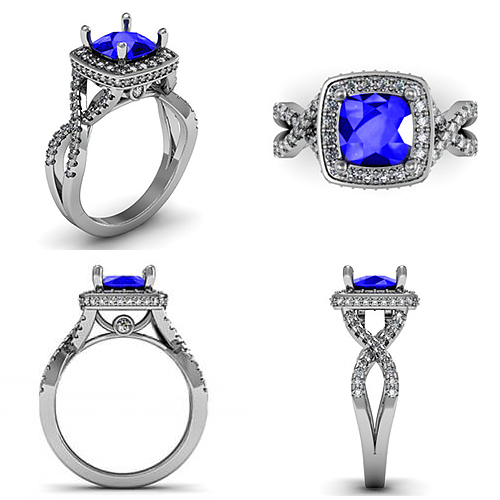
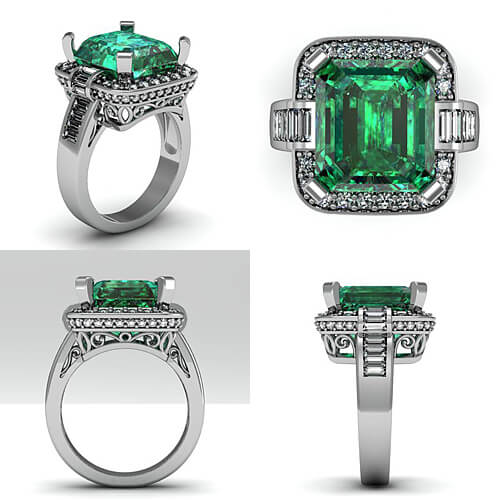
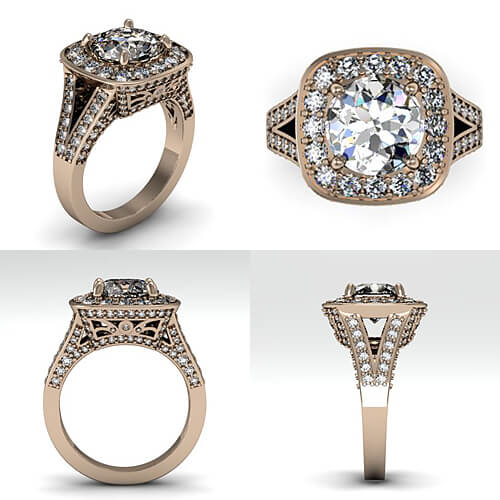
A rendering is much more detailed than a sketch or mock-up. And there are two methods of rendering a jewelry design. When completed in CAD (Computer Aided Design), the model created will be dimensionally accurate to millimeter precision and photo-realistically rendered from 4 different viewpoints; Top, Side, End, and Perspective. Precious metals and gemstones will also portray with near “real life” color tone accuracy. If needed, minor changes in the design are completed at no charge to you. We want you to be thrilled with the design. If significant changes are requested that deviate from the plan, we will have to charge another fee for another CAD. At any rate, while CAD is an excellent tool and is increasingly popular amongst jewelers, it’s not the best choice for some projects.
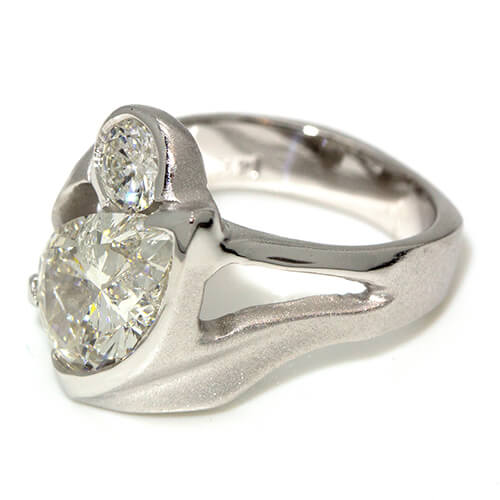
Organic or asymmetrical designs might require an old-fashioned touch. That’s when we’ll bring out the sketchbook, ruler, and compass. Which rendering method is most appropriate is determined by several factors, including cost. For instance, sometimes a hand-drawn rendering will be implemented into the CAD software if deemed more cost-effective than having multiple CAD’s created, which is more expensive to do.
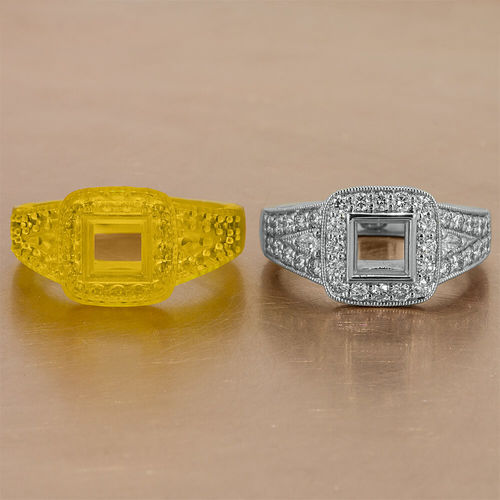
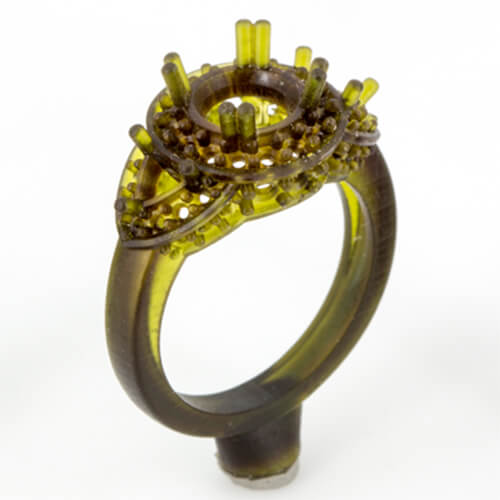
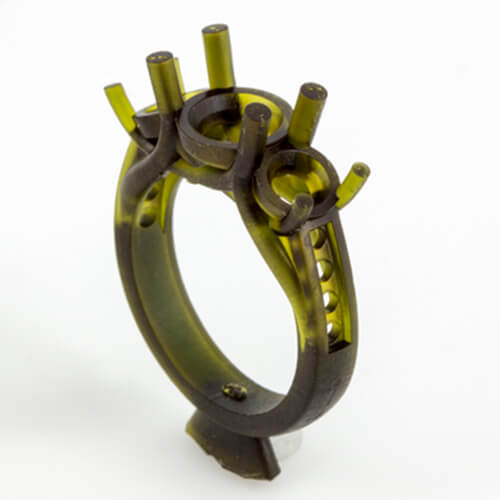
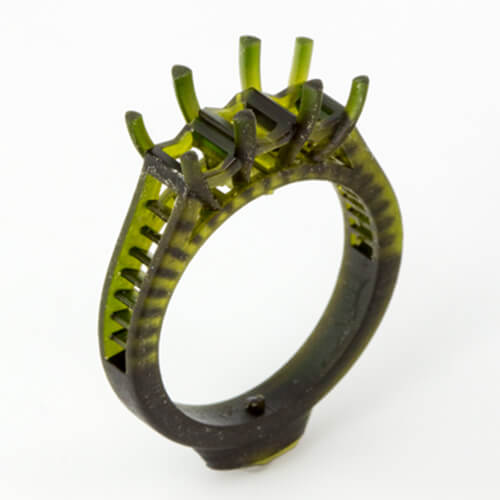
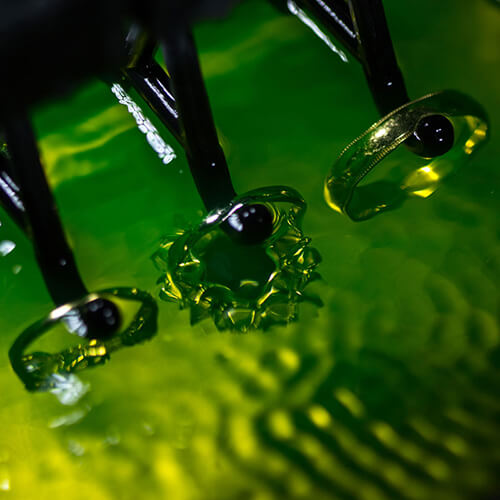
After any sketch or rendering is approved, the next step is to create a physical and dimensionally accurate model. This step is important because we move from just pictures to the physical model that significantly helps clients envision the finished jewelry. The type of model produced depends on the design, as previously mentioned. With CAD/CAM, an approved rendering proceeds into production with a model that is either “3-D printed” or milled by computer-controlled equipment.
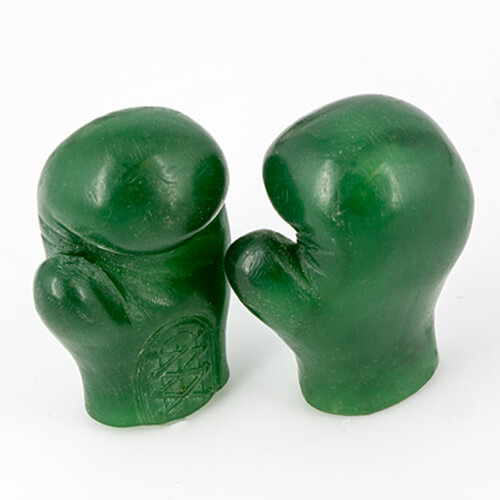
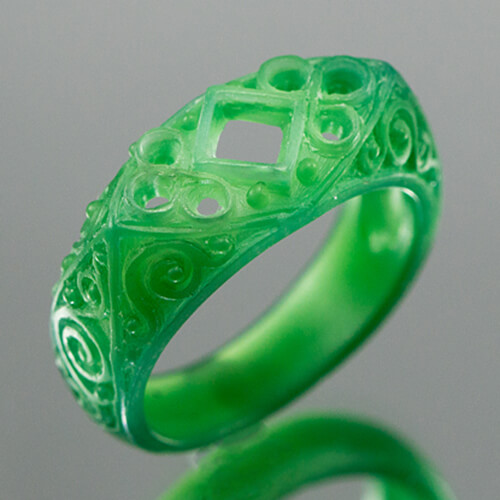
In the age of computer-assisted production, the traditional model-making method of hand-carving wax is regrettably a fading skill. Fortunately for us, Jerry still prefers this approach to model making, and he’s been at it for over 40 years. While no human can produce a model as accurately as a computer, there is something about the “handmade” look of model making that some clients prefer; by forsaking the surgical precision of CAD/CAM, for the story behind “handmade” jewelry.
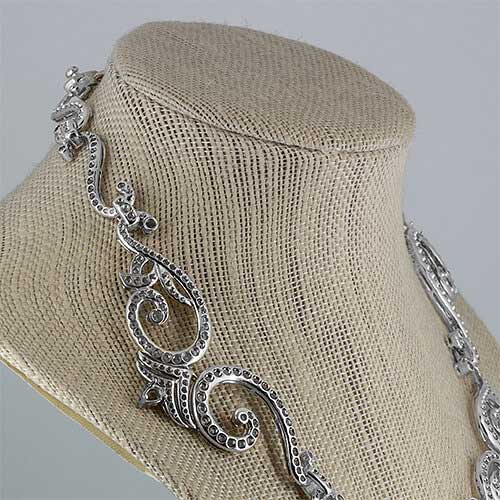
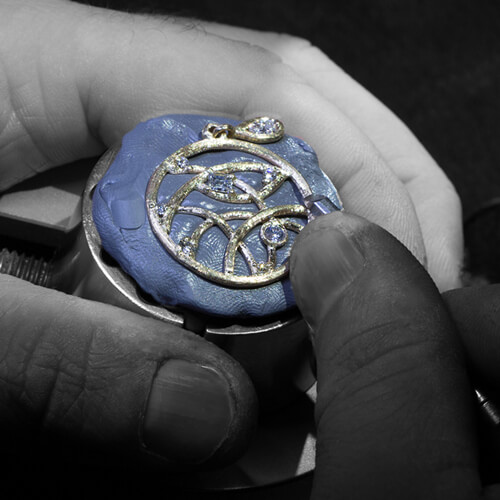
The last model option is a Sterling Silver model. Since sterling silver is relatively inexpensive, we’ll often fabricate a model from milled metal. We usually go this route when there’s a need to “fit” movable components (hinges) to the wearer for completely custom fit. The necklace above is a perfect example of why it’s necessary to do this. This silver model prototype was continually adjusted to fit a specific client until the perfect contour was achieved. Then the actual 18K yellow gold necklace went into production.
When the model is approved, a firm quote is given. If accepted, a 50% deposit is required to move into production*.
If a model is particularly fragile or intricate, we like to make a rubber mold prior to lost-wax casting. A mold is a negative impression of a design that can repeatedly be injected with hot, liquid wax. After cooling, the mold is then carefully opened to reveal a perfect copy of the original model.
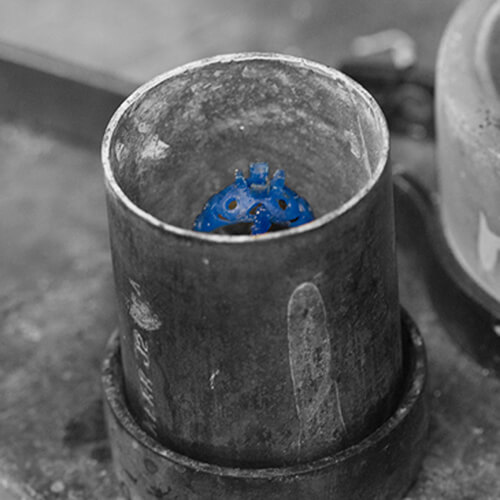
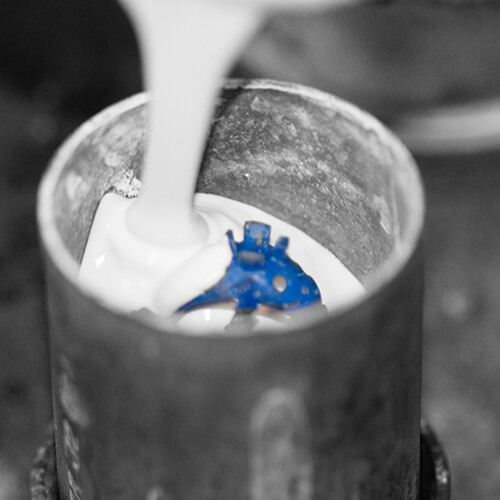
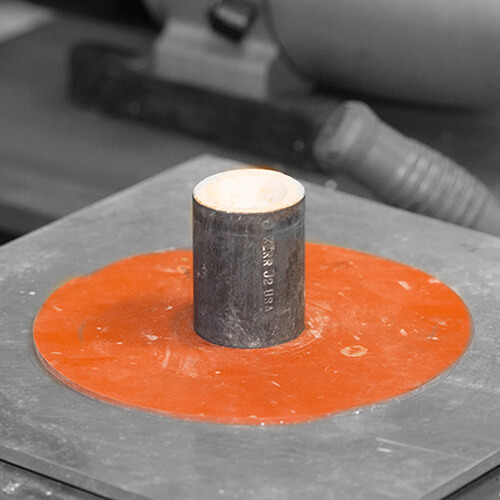
The wax model is then put into a steel flask and a plaster-like material called investment is poured over the pattern until it’s completely submerged. The flask is next placed on a vacuum table where any excess air bubbles are extracted from the investment with the aid of a powerful vacuum pump.
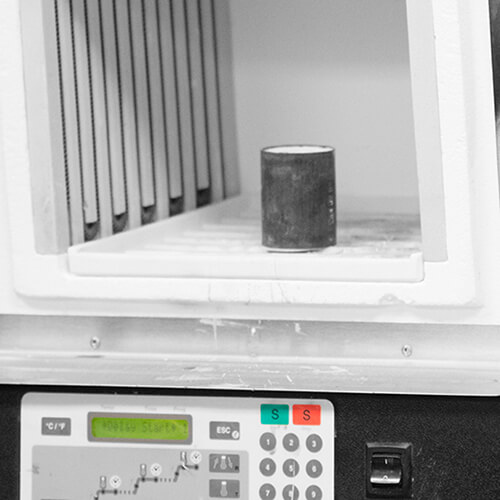
Next, the flask is placed into a special, digitally controlled oven with a pre-programmed heating sequence. During the “burning out” period (which happens overnight), the wax model is liquefied and drains out of the flask through the bottom, hence the term “lost-wax”. Not only is the wax burned out by the intense heat, but the investment itself has also become hardened and is now capable of withstanding the heat/pressure required to cast.
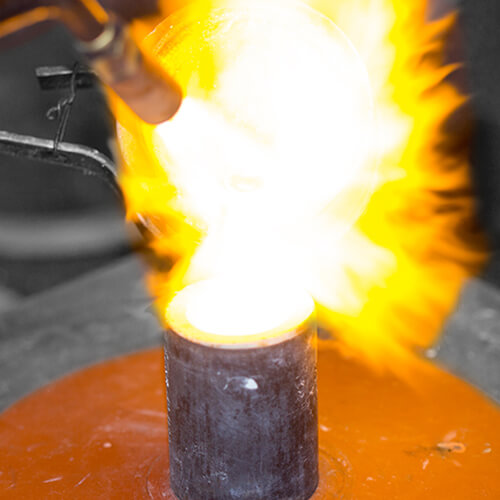
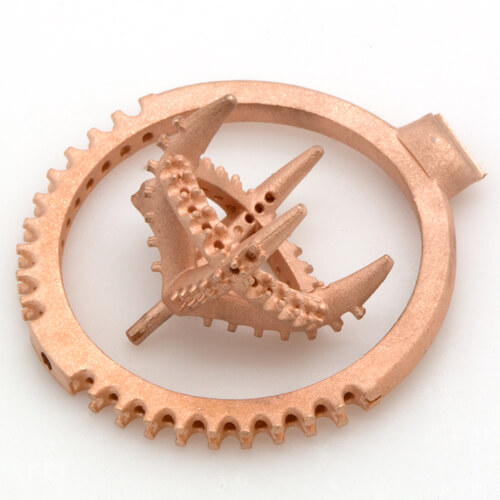
The actual casting of the jewelry is accomplished by pouring molten metal into the flask, which is under a powerful vacuum. After cooling, the result itself is broken out of the rock-like investment and cleaned of any residue.
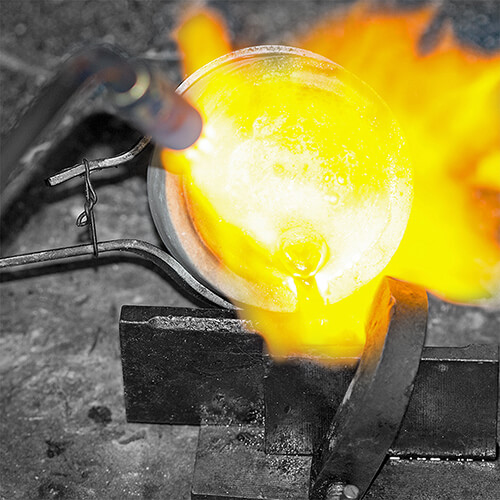
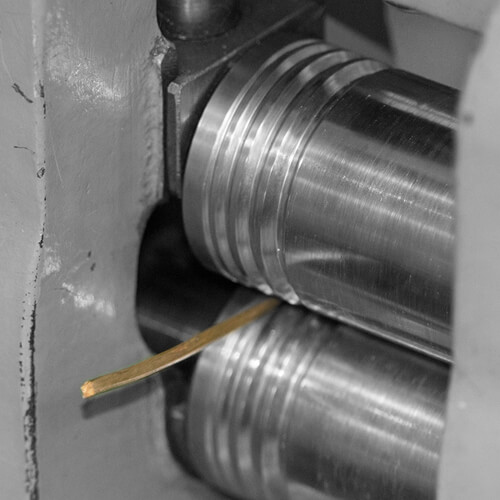
When a design is best crafted through fabrication, a wax model is not necessary. We use the sketches and renderings from previous steps to fabricate the jewelry design using raw materials. The top left picture shows the pouring of 14K Yellow Gold into an ingot mold. An ingot mold is an adjustable form made from steel that serves as a form into which molten metal will cool and thus take shape. After removing the newly formed ingot, the next step involves using a rolling mill to compress the metal into either flat sheets, or begin squeezing the gold into an elongated wire, as shown in the top right picture.
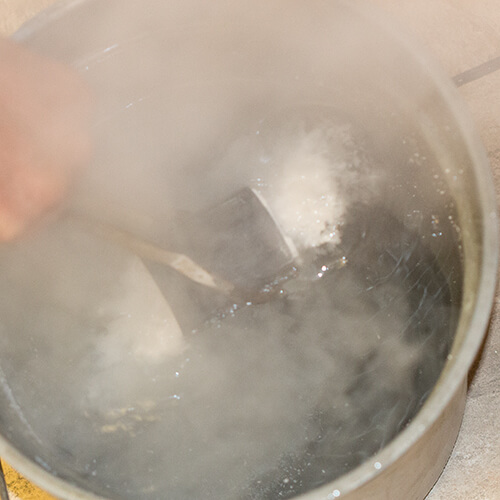
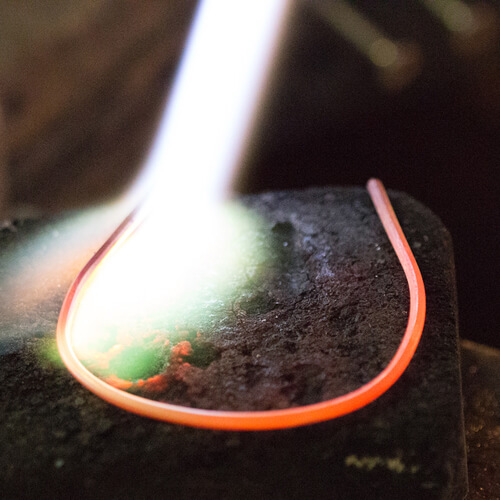
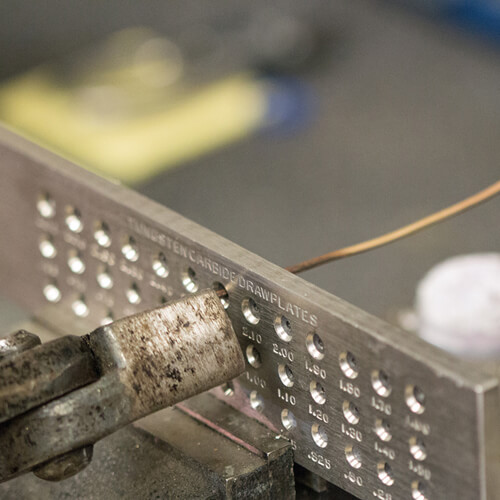
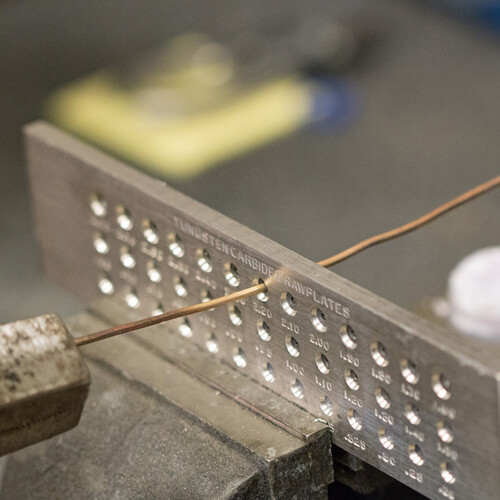
Continually compressing metal causes work-hardening. Imagine bending a coat hanger back and forth. At some point, the metal would snap. You’ve worked hardened the metal past its breaking point. What’s true for coat hangers, is true with precious metals. So, to prevent overworked metal from fracturing, we anneal (or soften) the metal by heating it with a torch and then quenching the metal as soon as the red glow disappears. Once annealed, the metal is now workable and can further withstand thickness reductions and other stresses. The top right picture illustrates a drawplate. We use drawplates to taper or reduce the thickness of wire until the desired size is reached. Once the metal becomes too springy, it must once again be annealed to reduce the tension.
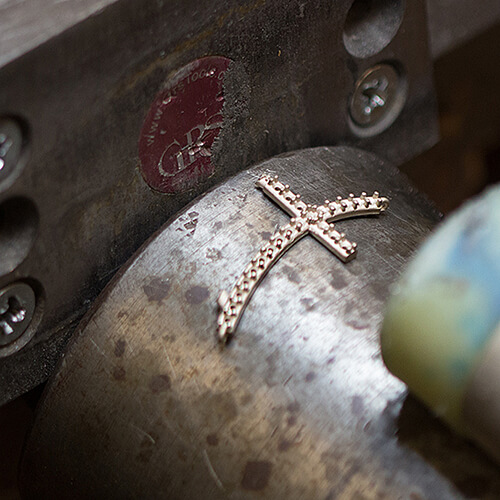
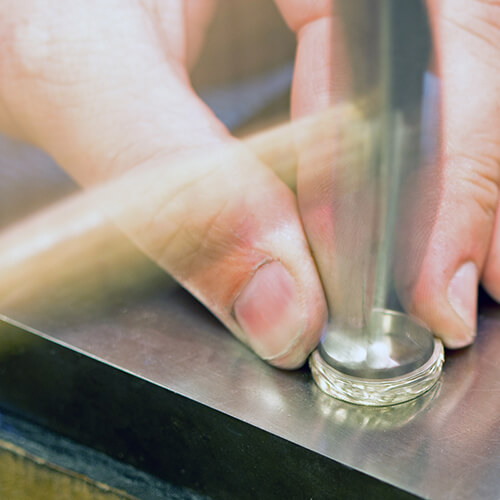
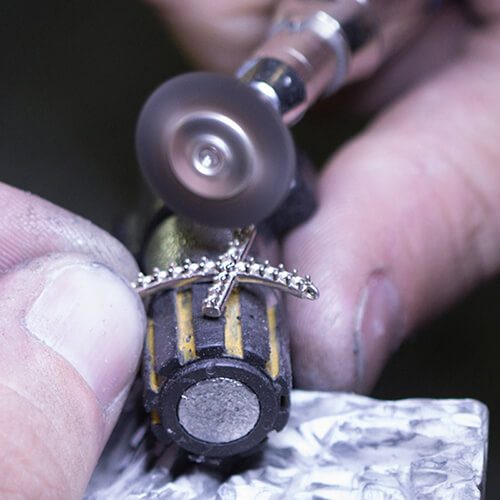
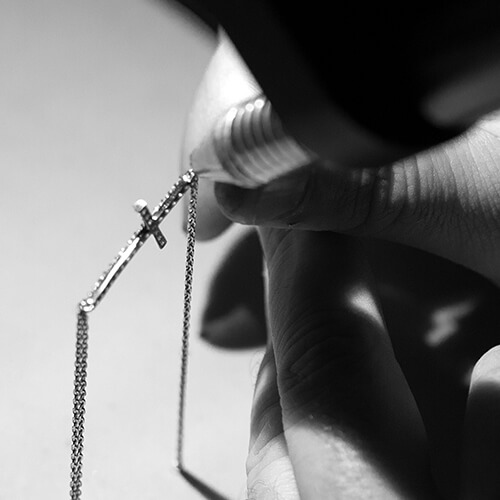
Fabrication often involves specialized pliers to bend and shape metal, but it mainly involves hammers. If the jewelry needs to be formed without changing the thickness, we use softer hammers called mallets. They are useful for changings curvatures or flattening jewelry without damaging the intended designed. Pictured top left, we see a cross that’s been formed on a bracelet mandrel to match the curve of the average person’s wrist. If left flat, the cross’s ends would be elevated off the wearer’s wrist and would not be very comfortable to wear. Another fabrication technique is called forging. Forging not only changes the jewelry’s shape, but it alters the thickness where the hammer strikes. To straighten a badly misshapen wedding band, for example, the use of a steel bench block and a goldsmith’s hammer was ideal to achieve a completely straight shape.
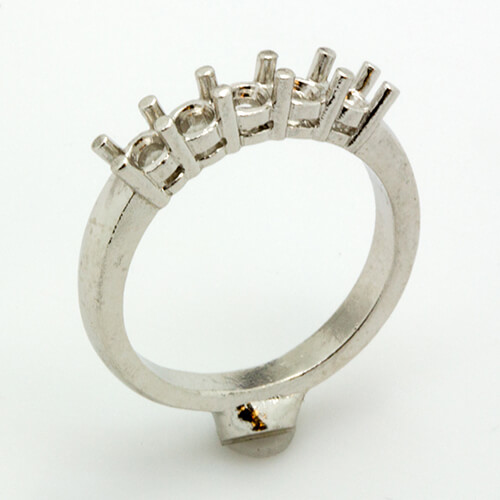
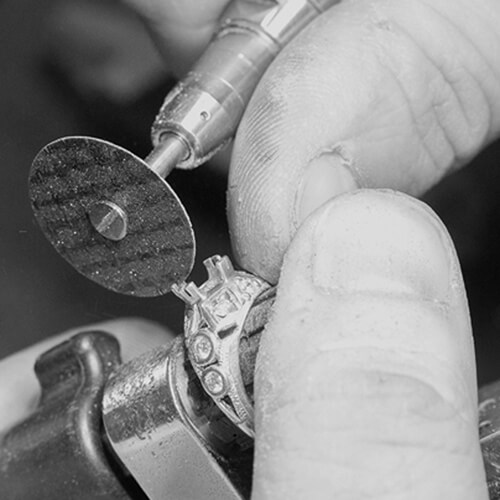
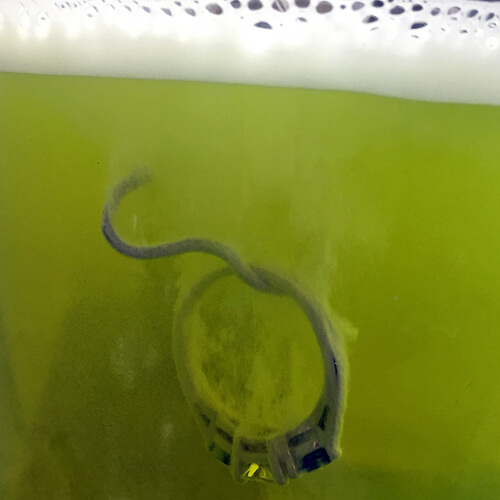
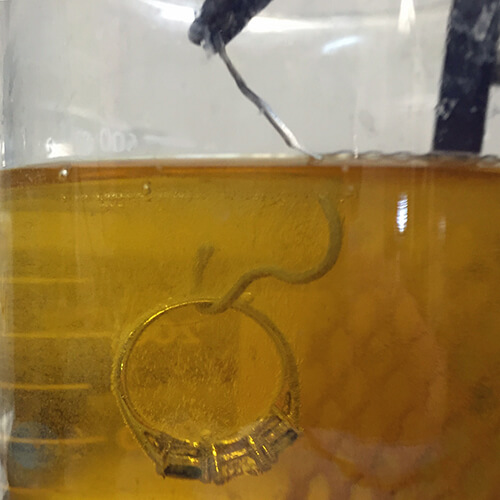
After casting, the sprue is sawn-off, and the jewelry piece proceeds through several refinement processes.
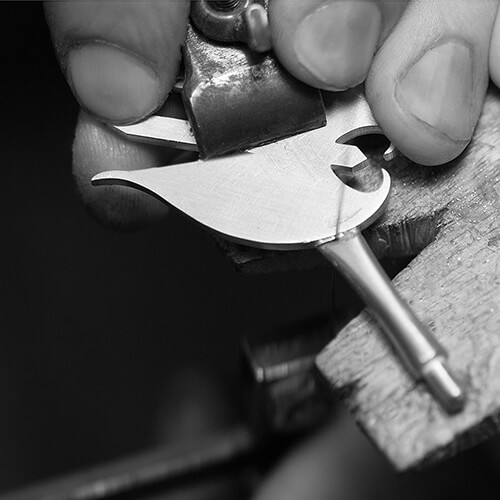
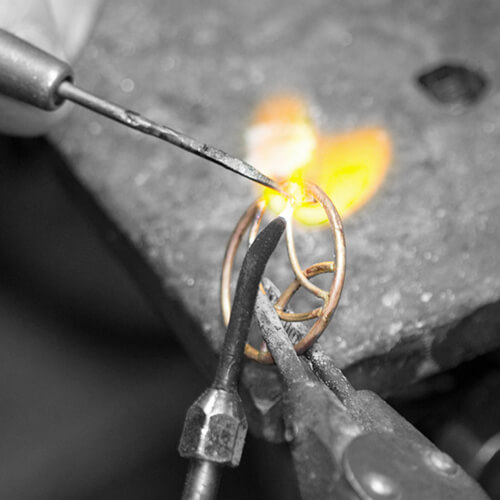
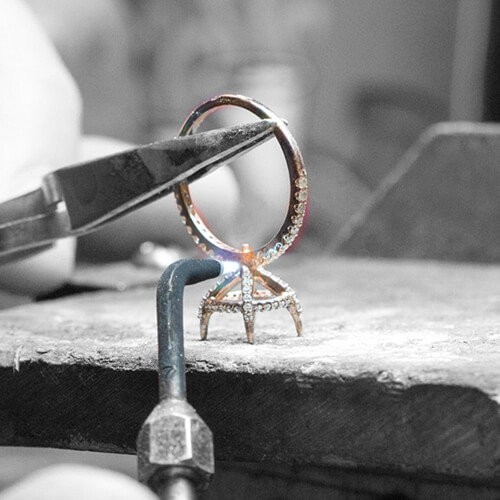
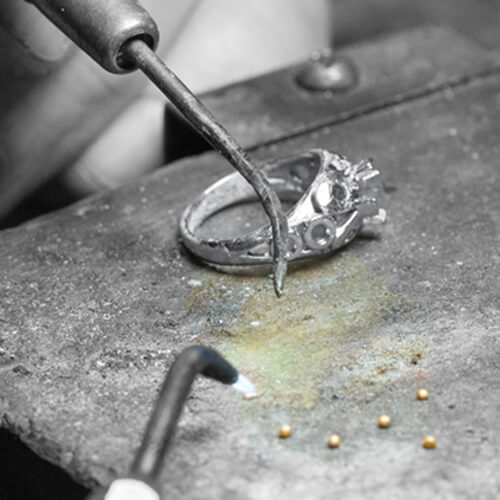
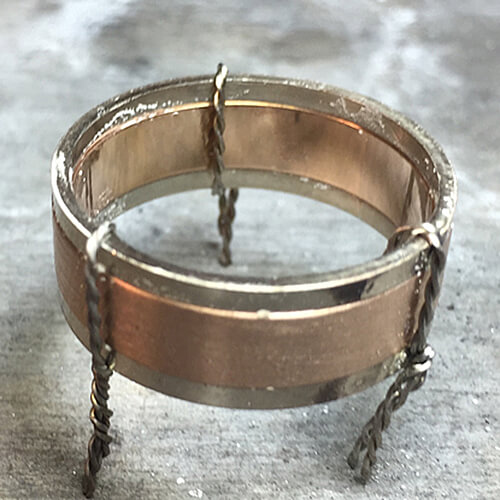
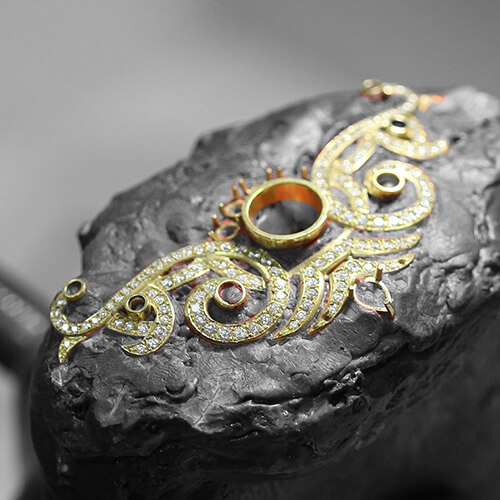
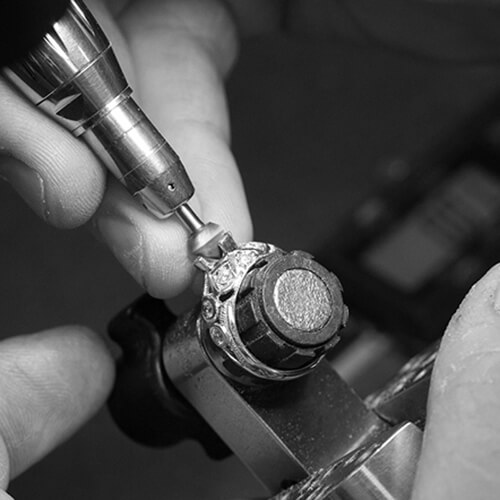
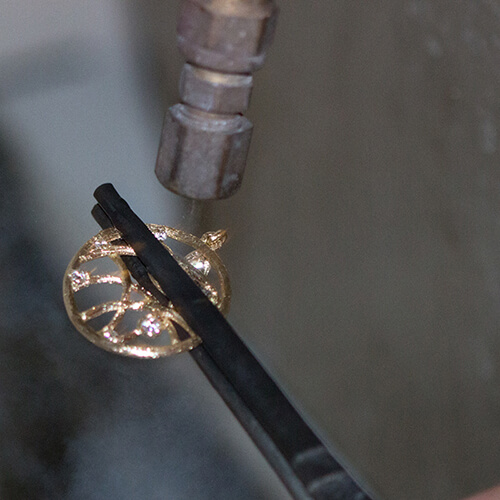
Assembly involves taking individual components of a jewelry design and joining them together to complete the jewelry piece. For instance, a design might have a white gold and a yellow gold shank. Since the two different metals can’t be cast within the same flask, they need to be connected somehow during the manufacturing process to achieve the two-tone look.
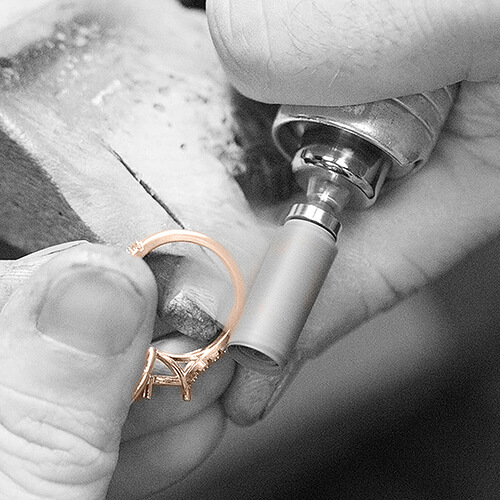
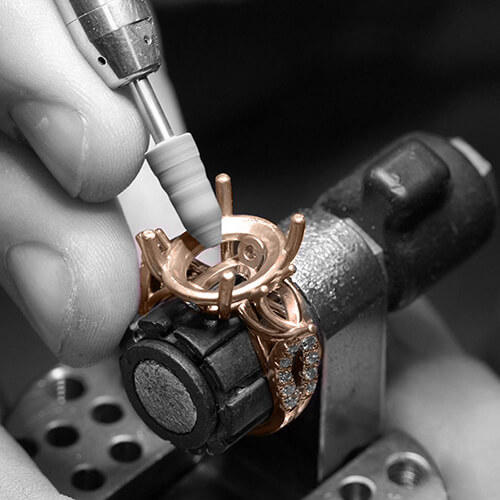
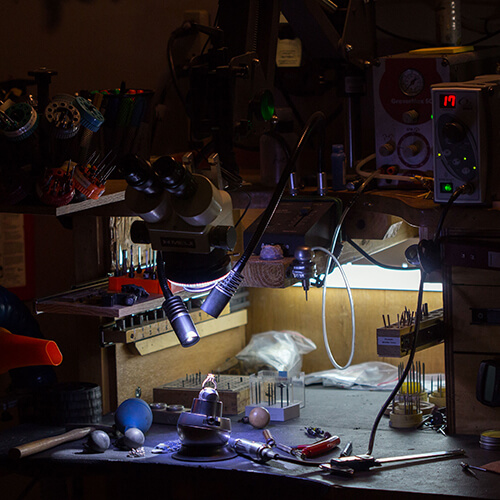
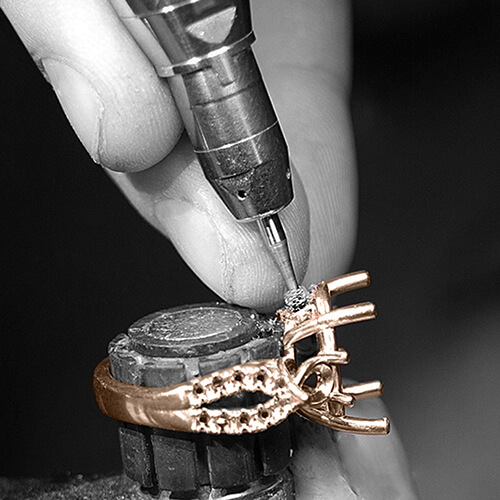
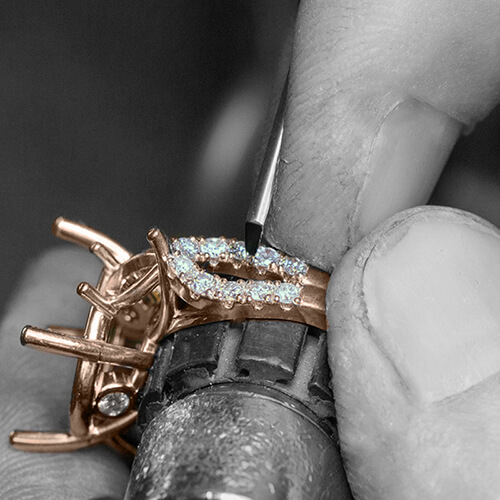
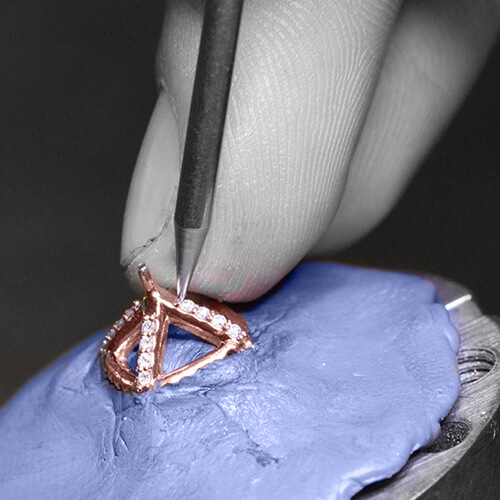
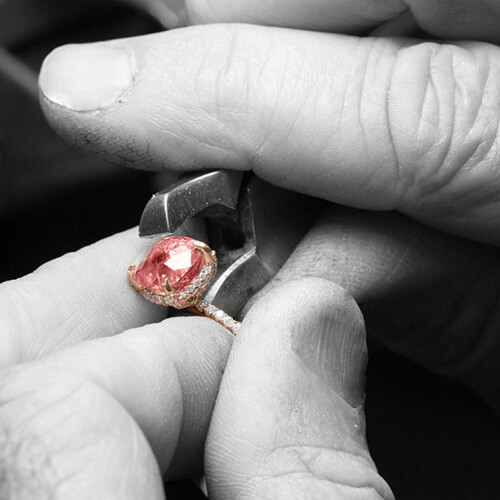
With the aid of a bench-mounted zoom microscope, all diamonds & gemstones are set using a series of metal burrs, drill bits, gravers and other precision tools. Stone-setting is a careful balance between aesthetics and security. Gems deserve to be on display with maximum visibility; not be obscured by extraneous metal. However, they should remain secure within their respective settings.
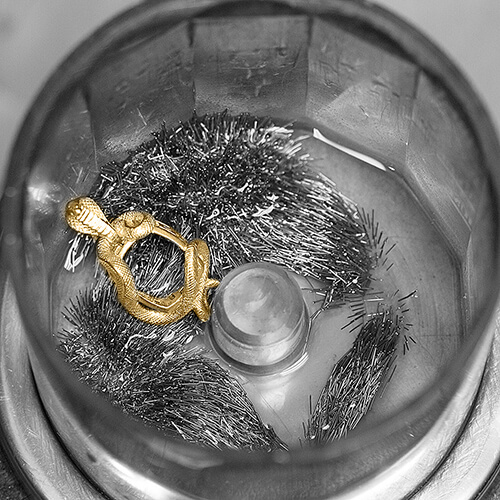
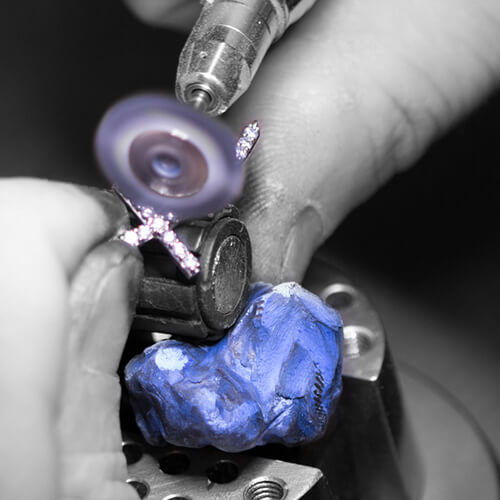
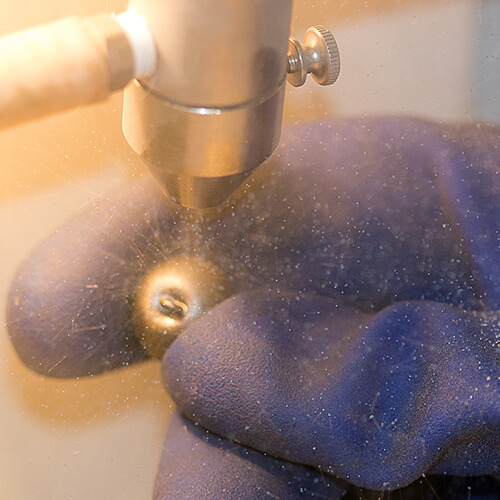
This final step involves applying the desired level of polish or texture to jewelry. While most jewelry is polished to a mirror-like finish, there’re many more finishes that are available, including: matte, satin/brushed, hammered, florentine, etc.
Custom Designs FAQ
Our custom designs begin with a client’s desire to personally adorn or lovingly present to another, truly custom-made fine jewelry. Designed and handcrafted in our workshop, it’s a collaborative process that’s both exciting and rewarding. Whether starting from a unique idea or tailoring classic design elements into something more individualized, we have the expertise and willingness to ensure that our clients finish the experience with beautiful fine jewelry in their hands and smiles on their faces.
Depending on the design complexity and time of year, custom designs are usually completed within 2-4 weeks after design approval. Faster turnaround times may be possible for an additional fee. Especially complex jobs may require 4-6 weeks.
Yes. There are some cases where we might be able to speed up the process without sacrificing quality. We do charge an additional fee for this special rush service, and each request must be determined on a case-by-case basis.
Our custom work starts around $1,000. Most completed designs range between $1,500 – $3,500, depending on materials.
Certainly. You don’t need to be an artist or engineer to chip in your ideas. In fact, we encourage your collaboration in the process Through the years, we’ve worked from a client-provided CAD rendering to a doodle on a Post-it Note. After all, it’s about what YOU want and if you can help visualize your design, all the better. We’re here to help guide (not coerce) you through the process. That said, there are instances where jewelry has looked beautiful two-dimensionally, but wasn’t practically feasible to manufacture. Jewelry design involves more than just gorgeous sketches. Structure and comfort are equally important. If we perceive a potential issue, we’ll be sure to let you know.
We do. It’s frequently a team effort between Jerry and Drew*. Since Jerry has over 40 years of custom design experience, he often takes the lead on custom projects.
*Full disclosure: While virtually every phase of the custom design process is performed right here in our workshop, there are instances when an outside service provider is necessary for a particular step of the production. Being a smaller custom shop sometimes limits our ability to deliver the finest jewelry possible without very expensive equipment. Regardless, we NEVER ship out any client-provided jewelry (heirloom or not) without obtaining prior consent. We’re very sensitive to the sentimental value of jewelry, so we promise to undertake every precaution to protect it while in our care.
Sure! Our client’s love seeing their custom jewelry progress through a series of high-resolution pictures. We’re working on different pricing options at the moment, but in the meantime, the fee is around $175 to have most of the steps photographed, edited, notated, and delivered via a link to a private Google Drive shared folder. A few of our clients are getting the pictures printed in full-color flip books that beautifully complement and accompany the jewelry itself!
Gold (10 -18K, White, Yellow, Rose, Pink, and Green), Platinum, Palladium & Sterling Silver.
Yes, but let’s go over the two primary reasons a client asks to “melt down” and re-use their gold:
The first is the assumed cost savings. Intuitively, it makes sense; if you provide the metals that will lower the “out of pocket” expense of a finished design. But there are some risks involved. You see, when gold alloys are initially cast, they begin as carefully proportioned mixtures of several different metals. Certain trace elements within an alloy are critical for protecting the molten metal from contamination. Zinc, for example, helps with the fluidity of the molten metal and brightens the casting’s surface. The problem is that such trace elements are treated sacrificially. In other words, once they burn off, they’re gone from the resulting casting. Fast forward to when that casting (now jewelry) is melted again, the alloy is now different. The results of the new casting can be unpredictable, with issues ranging from porosity (tiny holes) to uneven coloring. White Gold is even more problematic than yellow gold because it often contains Nickel, which is highly susceptible to brittleness after recasting.
The second reason to “melt down” old gold is sentimental; which is a better reason to reuse. The possibility of repurposing the metal that was once worn by a loved one can be priceless to many of our clients.
Bottom line: after the risks and benefits are weighed, you should be able to make an informed decision. Some people choose not to reuse while most of our clients are willing to accept “less than perfect” redesigns for sentimental reasons.
We recommend exchanging your precious metals for store credit. We'll provide recycled metal for the new design that's every bit as pure as if it were newly extracted while minimizing the enormous environmental impact of gold mining. Additionally, the trade-in value will be higher than a cash-for-gold payment, so you’ll benefit from the increased buying power.
